The Monolith
The Monolith started out with an idea, to do a series of images with a monolith the main feature.
My original notes called for me to shoot digital images of a piece of granite, about a foot tall a foot wide, and foot deep, we have in our front yard. However, due to a rainstorm, I was unable to, and instead began playing with a graphics editing program (Neopaint), and created the first design...
(Click on thumbnail at any time to see full-sized image.)
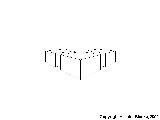 |
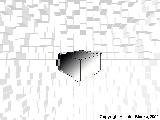
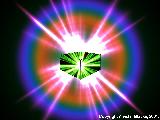
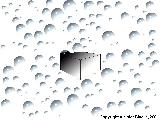
As you can see, it was originally going to be 3 monoliths. I didn't know how to put texture into the sides, to make it look like a monolith, so instead did a grey to white gradient of each side and top. The only surviving image from this early period is one in which I had already used an Adobe Photoshop Filter on:
 |
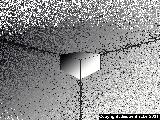
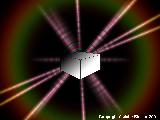
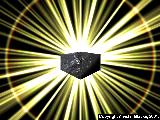
At this point, I edited out the box on either side of the middle box, and began playing with tons of different filters. A couple, I experimented with using a filter within the box itself:
 |
 |
 |
 |
 |
 |
 |
 |
 |
 |
 |
 |
 |
 |
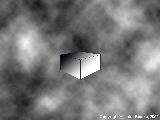
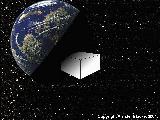
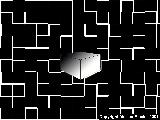
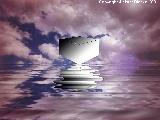
Up to this point, all of the images were 100% created on the computer, no outside sources. The next one, I imported one of the photo's I had taken of the sky, to use behind the monolith:
 |
Now, I should explain something here real quick, at this point in time. I've been refering the images above as "box" and "monolith." In truth, they are all just a box, hence the naming pattern I used. It was shortly after the final image, box16, that I finally figured out how to make the box have the 'stoney' side I've been wanting. After I did this, I began refering to it as monolith, hence the name change at this point.
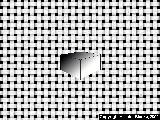
The first image created after the master monolith image (not used here) was of the monolith against a simple black to white gradient background:
 |
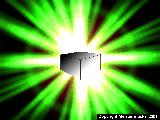
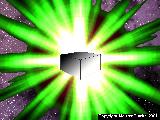
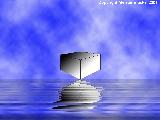
The next image was using another Adobe Photoshop Filter:
 |
Now, the last image (that I've done so far. Am taking a slight break from it) needs the story behind it explained:
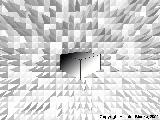
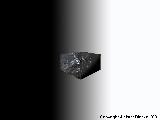
I came up with an idea of making a wall in a room - a padded wall, with 2 windows with bars on them. A padded room in a mental asylum. From the view through the windows, was going to show a starfield and nebula field, only it didn't work out as well as I had hoped - the windows were too small (part of a solar flare can be visible in the windows in the image below).
On a lark, I decided to add the monolith image to the cell, and I liked how it looked. The only problem was, it was too bright. A bit of mucking about in photoshop, and I created an overhead light effect shining down on the image, and darkening the rest of the image:
 |
And this is where I have left off, taking a break from the concept.
Now, to answer a few questions... The box in all the early images was in the exact same spot every time. This was done intentionally, to create the concept that the box stays the same, and that everything changes around it - giving it an eon's old feel to it. The size was constant, too.
The same applies for the monolith, too. Almost. In monolith03, it's almost double its regular size. This was due to a size difference between the original room image I used and the size of the monolith.
I put this section up like this, to show how a concept or idea will begin, and then evolve. This gives you, the viewer, a chance to see how I work an idea until it begins to come out like I want. Or at least in a unique and different form or style.
And as for future plans for the monolith? Who knows....
Return to Main Menu Return to Digital Manipulations Menu